Recovering F7D7302 using serial
Last year, I was trying to help a friend change his router’s firmware (Belkin Share N300 Wireless N+ Router MiMo 3D & USB Port) to DD-WRT, he tried first and something didn’t work like it should and asked me for help, because I’ve been succesful to make DD-WRT work in other 2 routers (WRT54GL & F7D7301).
After a couple hours I suggested my friend we used tomato firmware instead of DD-WRT becuase tomato has a friendlier interface.
Yeah, right
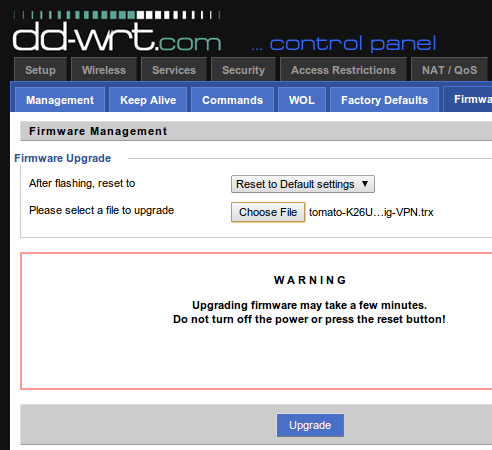
He accepted and I flashed tomato, I swear I selected to “Reset to default settings”
The problem was that the router stopped working, I have just made a beautiful plastic brick :(
Tried several times the 30/30/30 reset and it didn’t work. We finally gave up on the router and decided to work on it later.
Gettin’ Jiggy wit It
Well, until the past weekend I had the oportunity to look further into this issue, thanks to Scott Gibson I was able to confirm the router’s serial port:
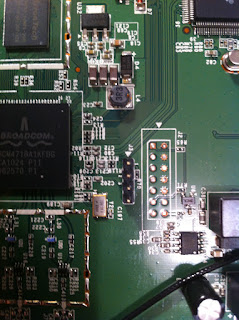
Pin 1: Vcc (3.3V) Pin 2: RX Pin 3: TX Pin 4: Gnd
Thanks to Gtoniser and their post I had the information on how to connect the Raspberry Pi and the router’s serial.
Setup the Pi
First, You have to comment the following line in /etc/inittab
T0:23:respawn:/sbin/getty -L ttyAMA0 115200 vt100
it should look like this:
T0:23:respawn:/sbin/getty -L ttyAMA0 115200 vt100
Reboot the RPi and now we can use the serial port.
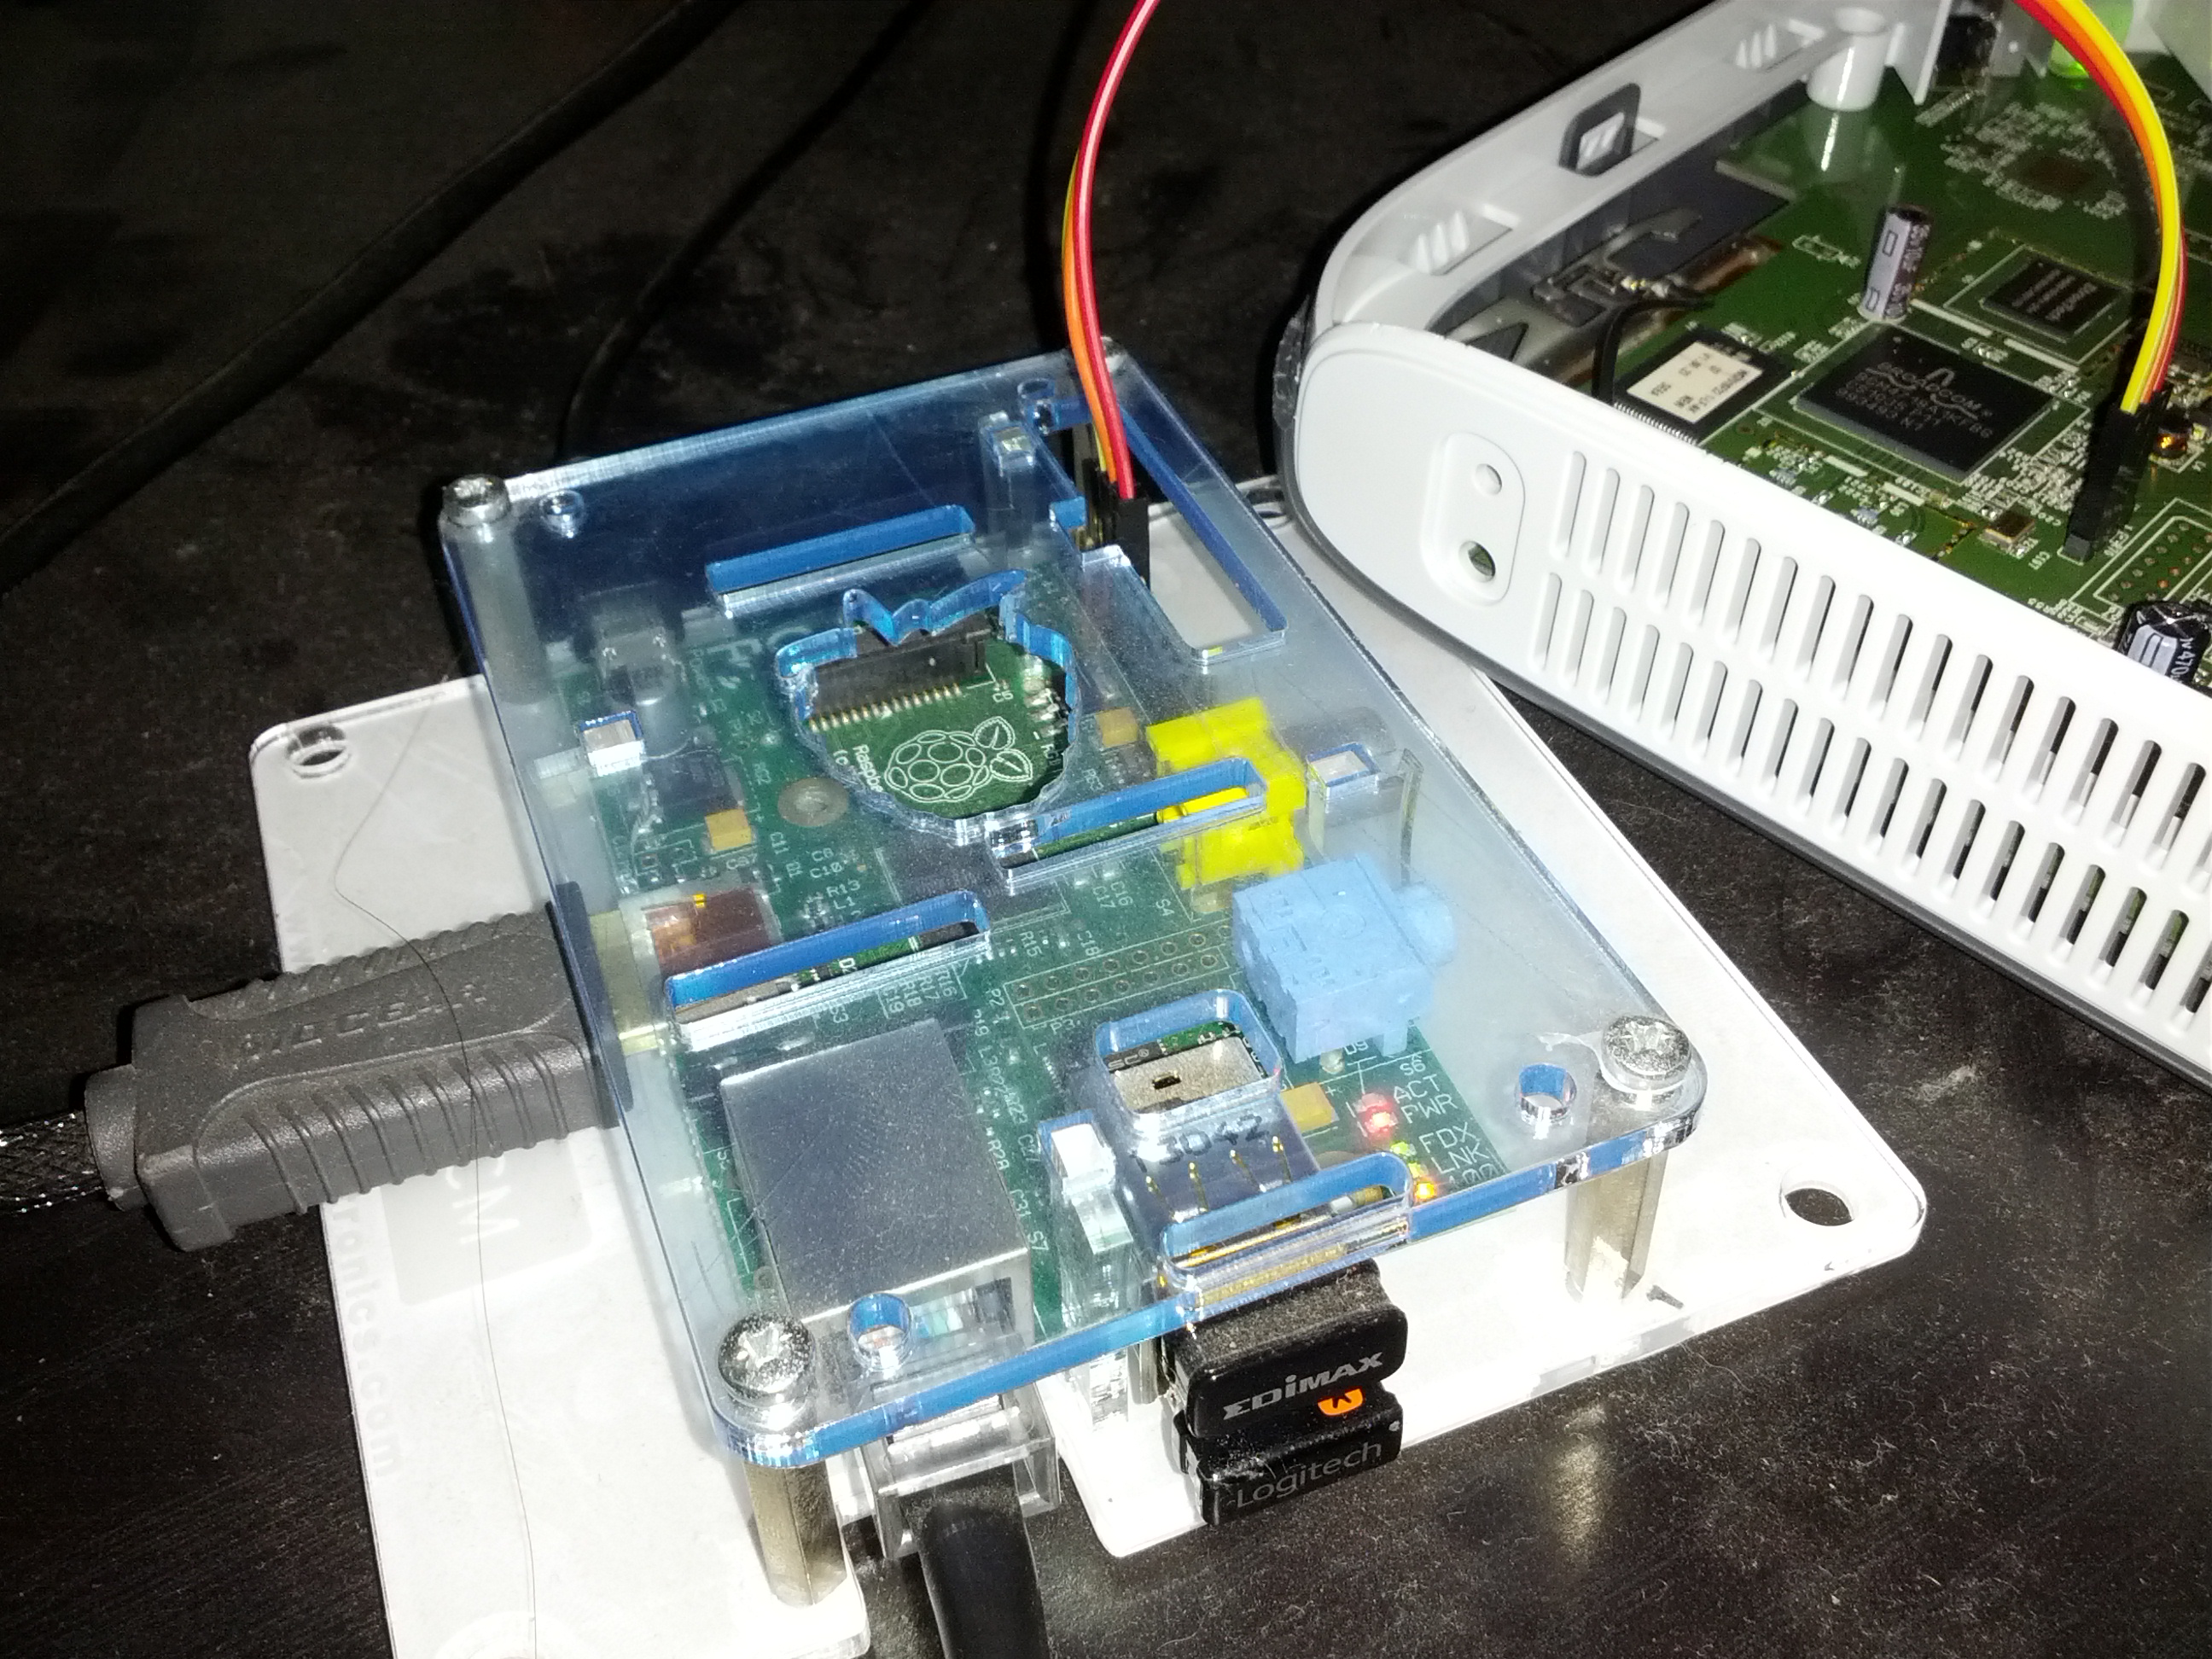
How to connect the RPi
Thanks to lavalink for the image
 .
.
Now we connect these ports to the router (Router should be off) RPi - Router GND <-> GND TX <-> RX RX <-> TX
Listen to the serial
Install minicom in the RPi
sudo apt-get install minicom
Then run minicom on the serial port of the RPi
sudo minicom -b 115200 -o -D /dev/ttyAMA0
Now power on the router while holding Ctrl + C and now the terminal should
capture whatever is going in the router, sorry for not providing better looking
images.
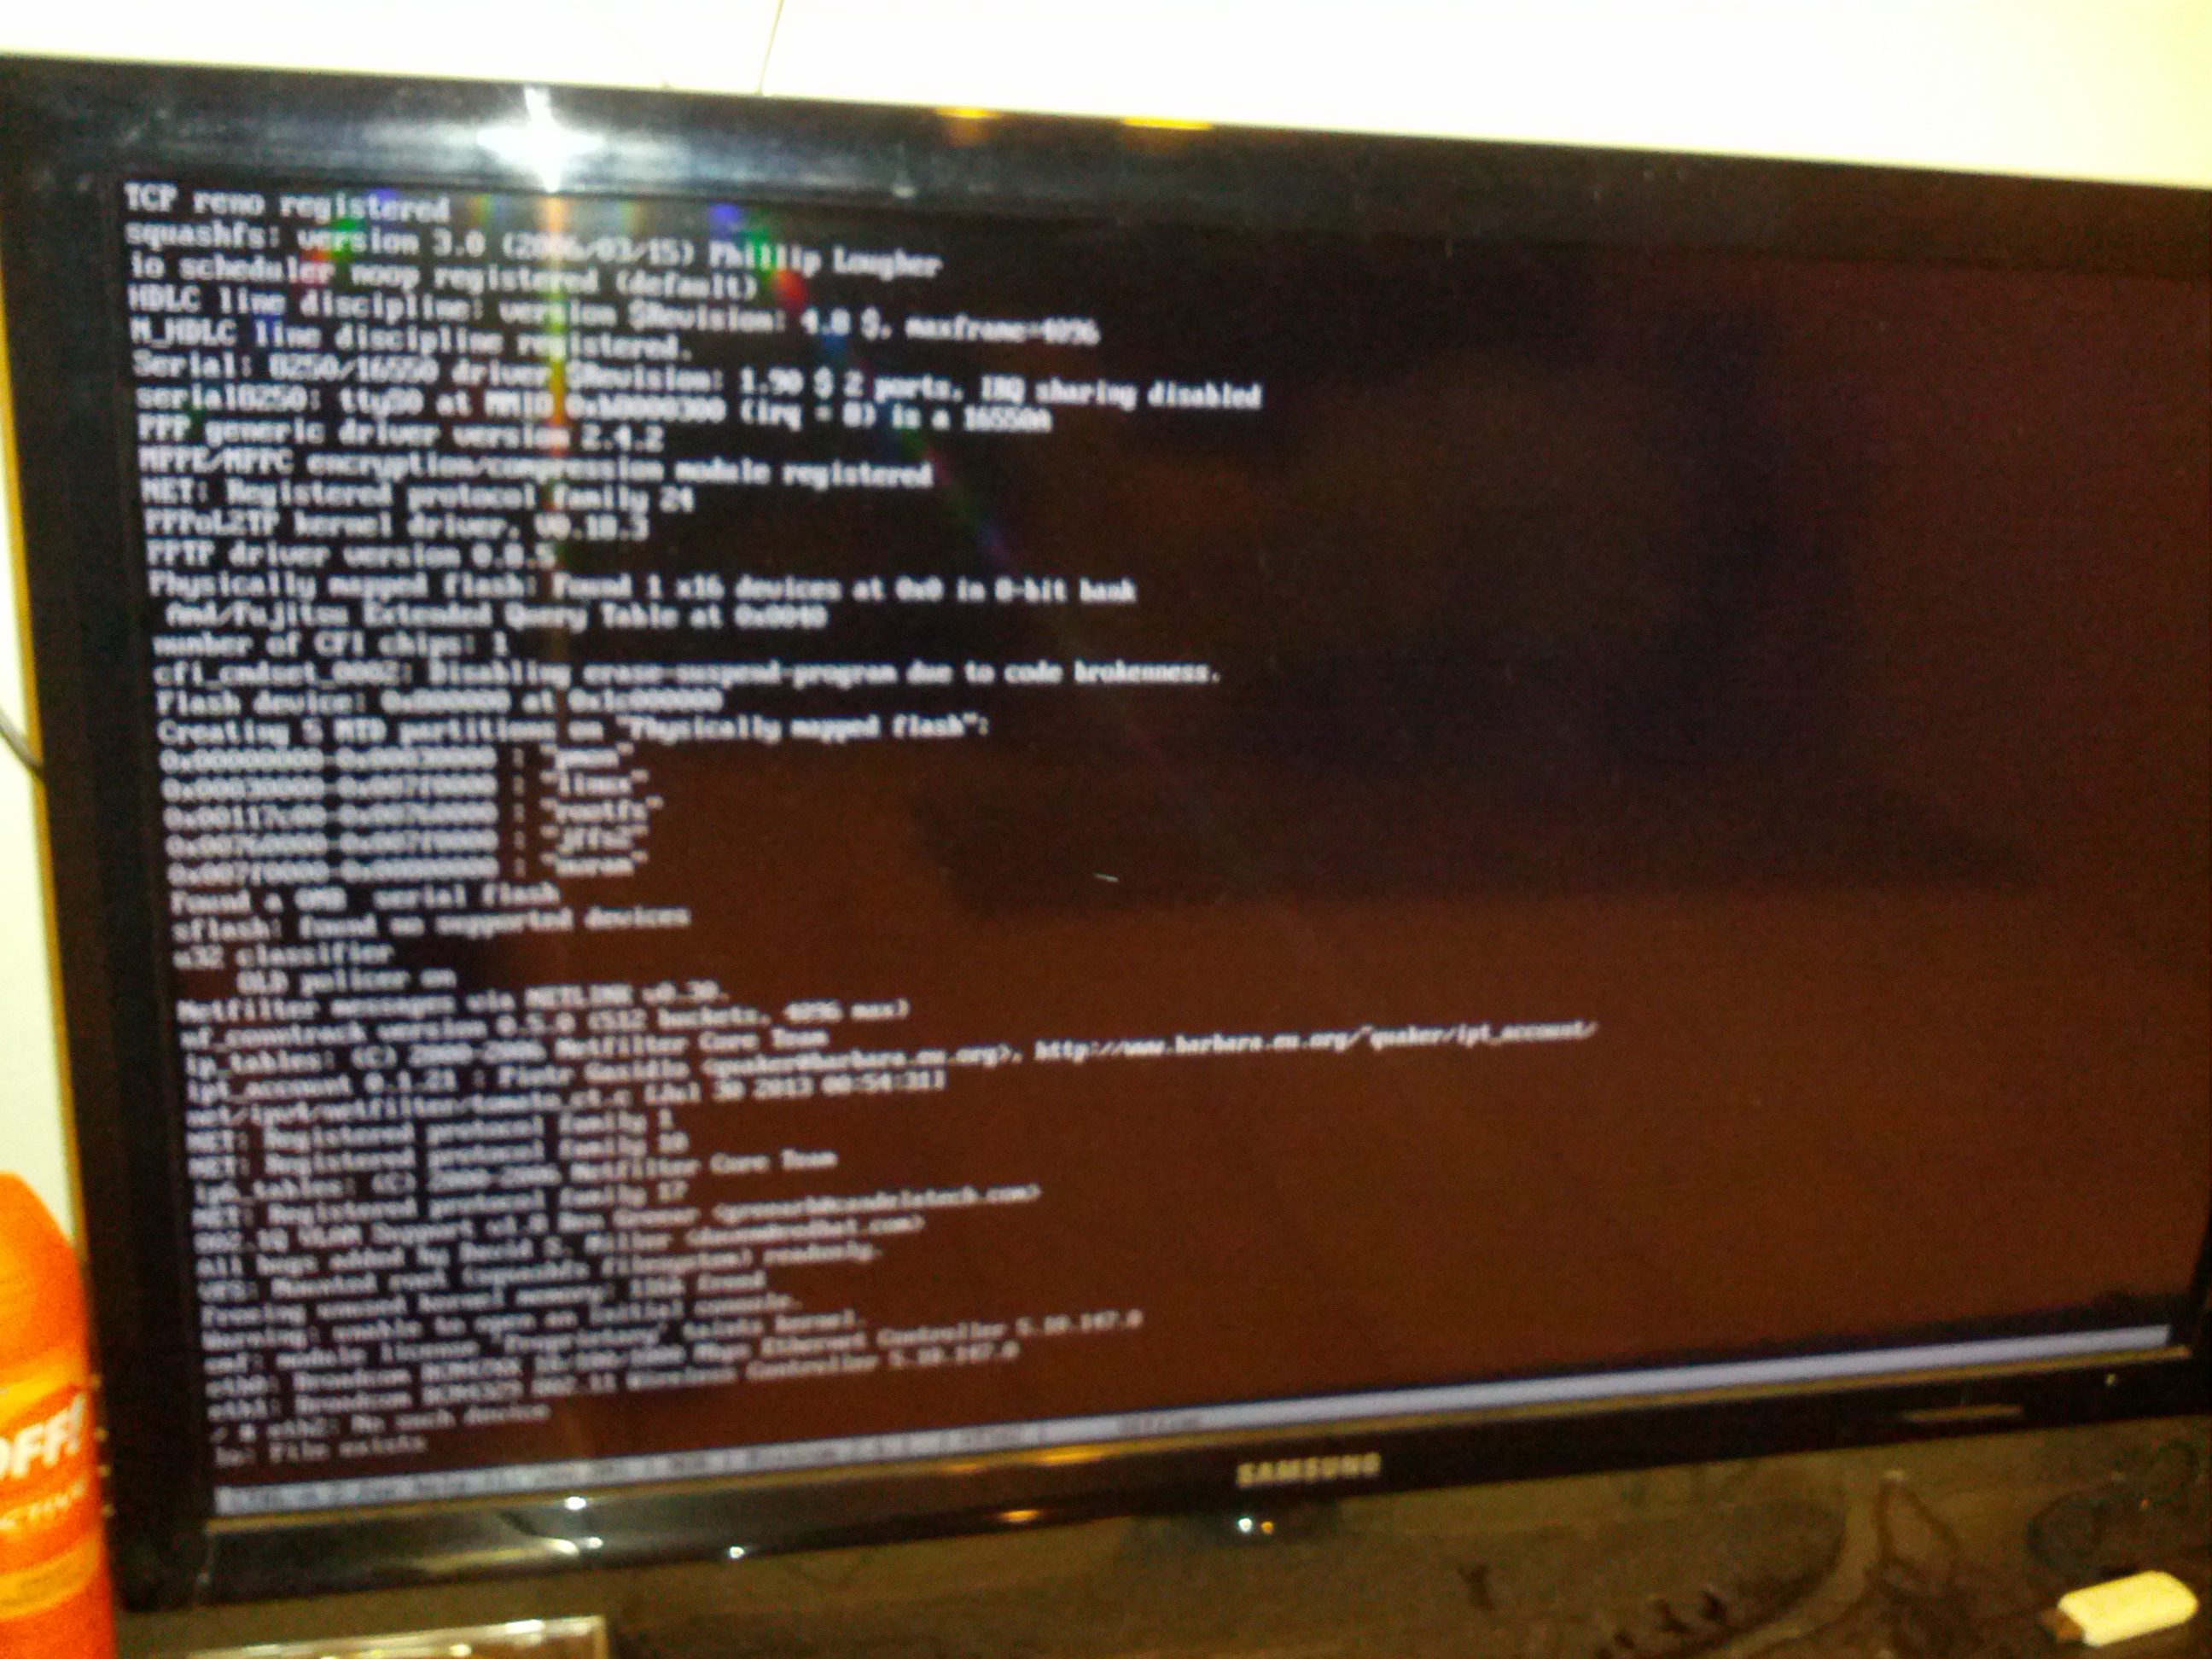
In this case, the router was stuck verifying something and since it was wrong it
rebooted every time it got to that point, the good thing is that now I knew the
bootloader was OK and I didn’t need to use jtag.
I pressed the space bar to stop the verification and finally got to the CFE
prompt.
Cleared nvram and reboot
CFE> nvram erase
CFE> reboot
Success
I finally saw the device assigning and IP address to port, I connected a computer to Port 1 and openned 192.168.1.1
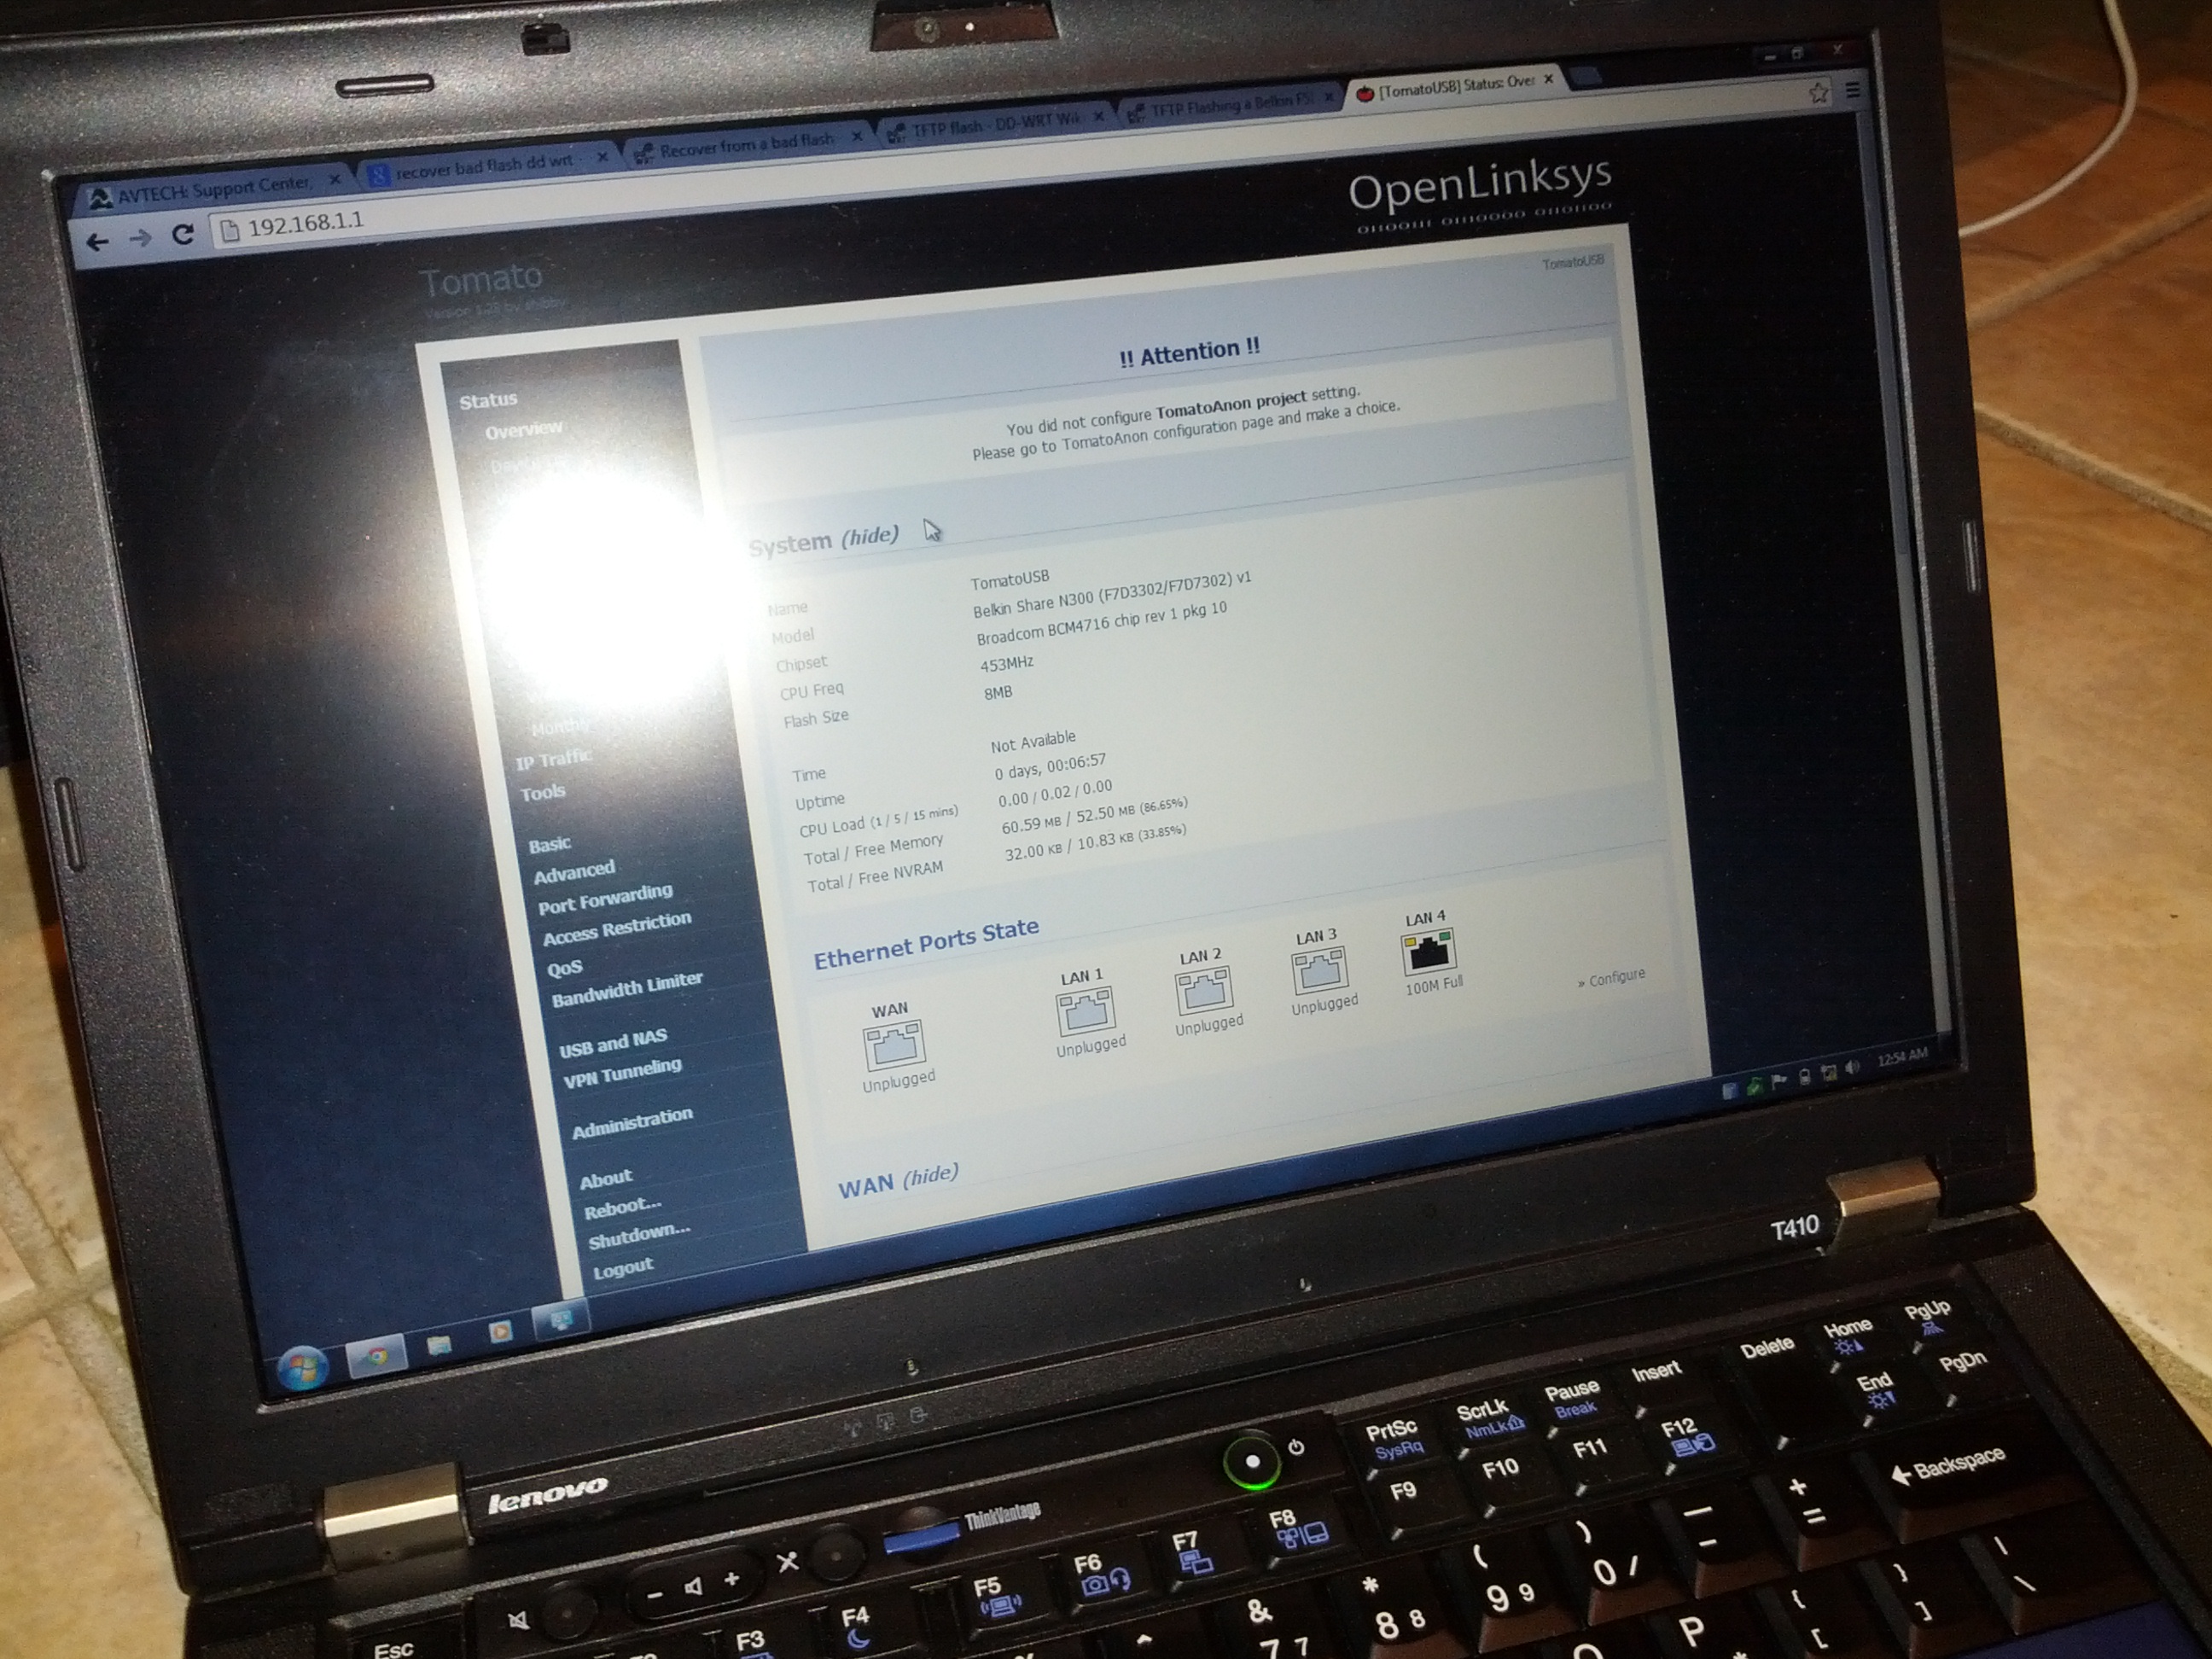
TOMATO was up and running, for some reason the hard reset was not doing its thing.
Now F7D7302 is working again :)
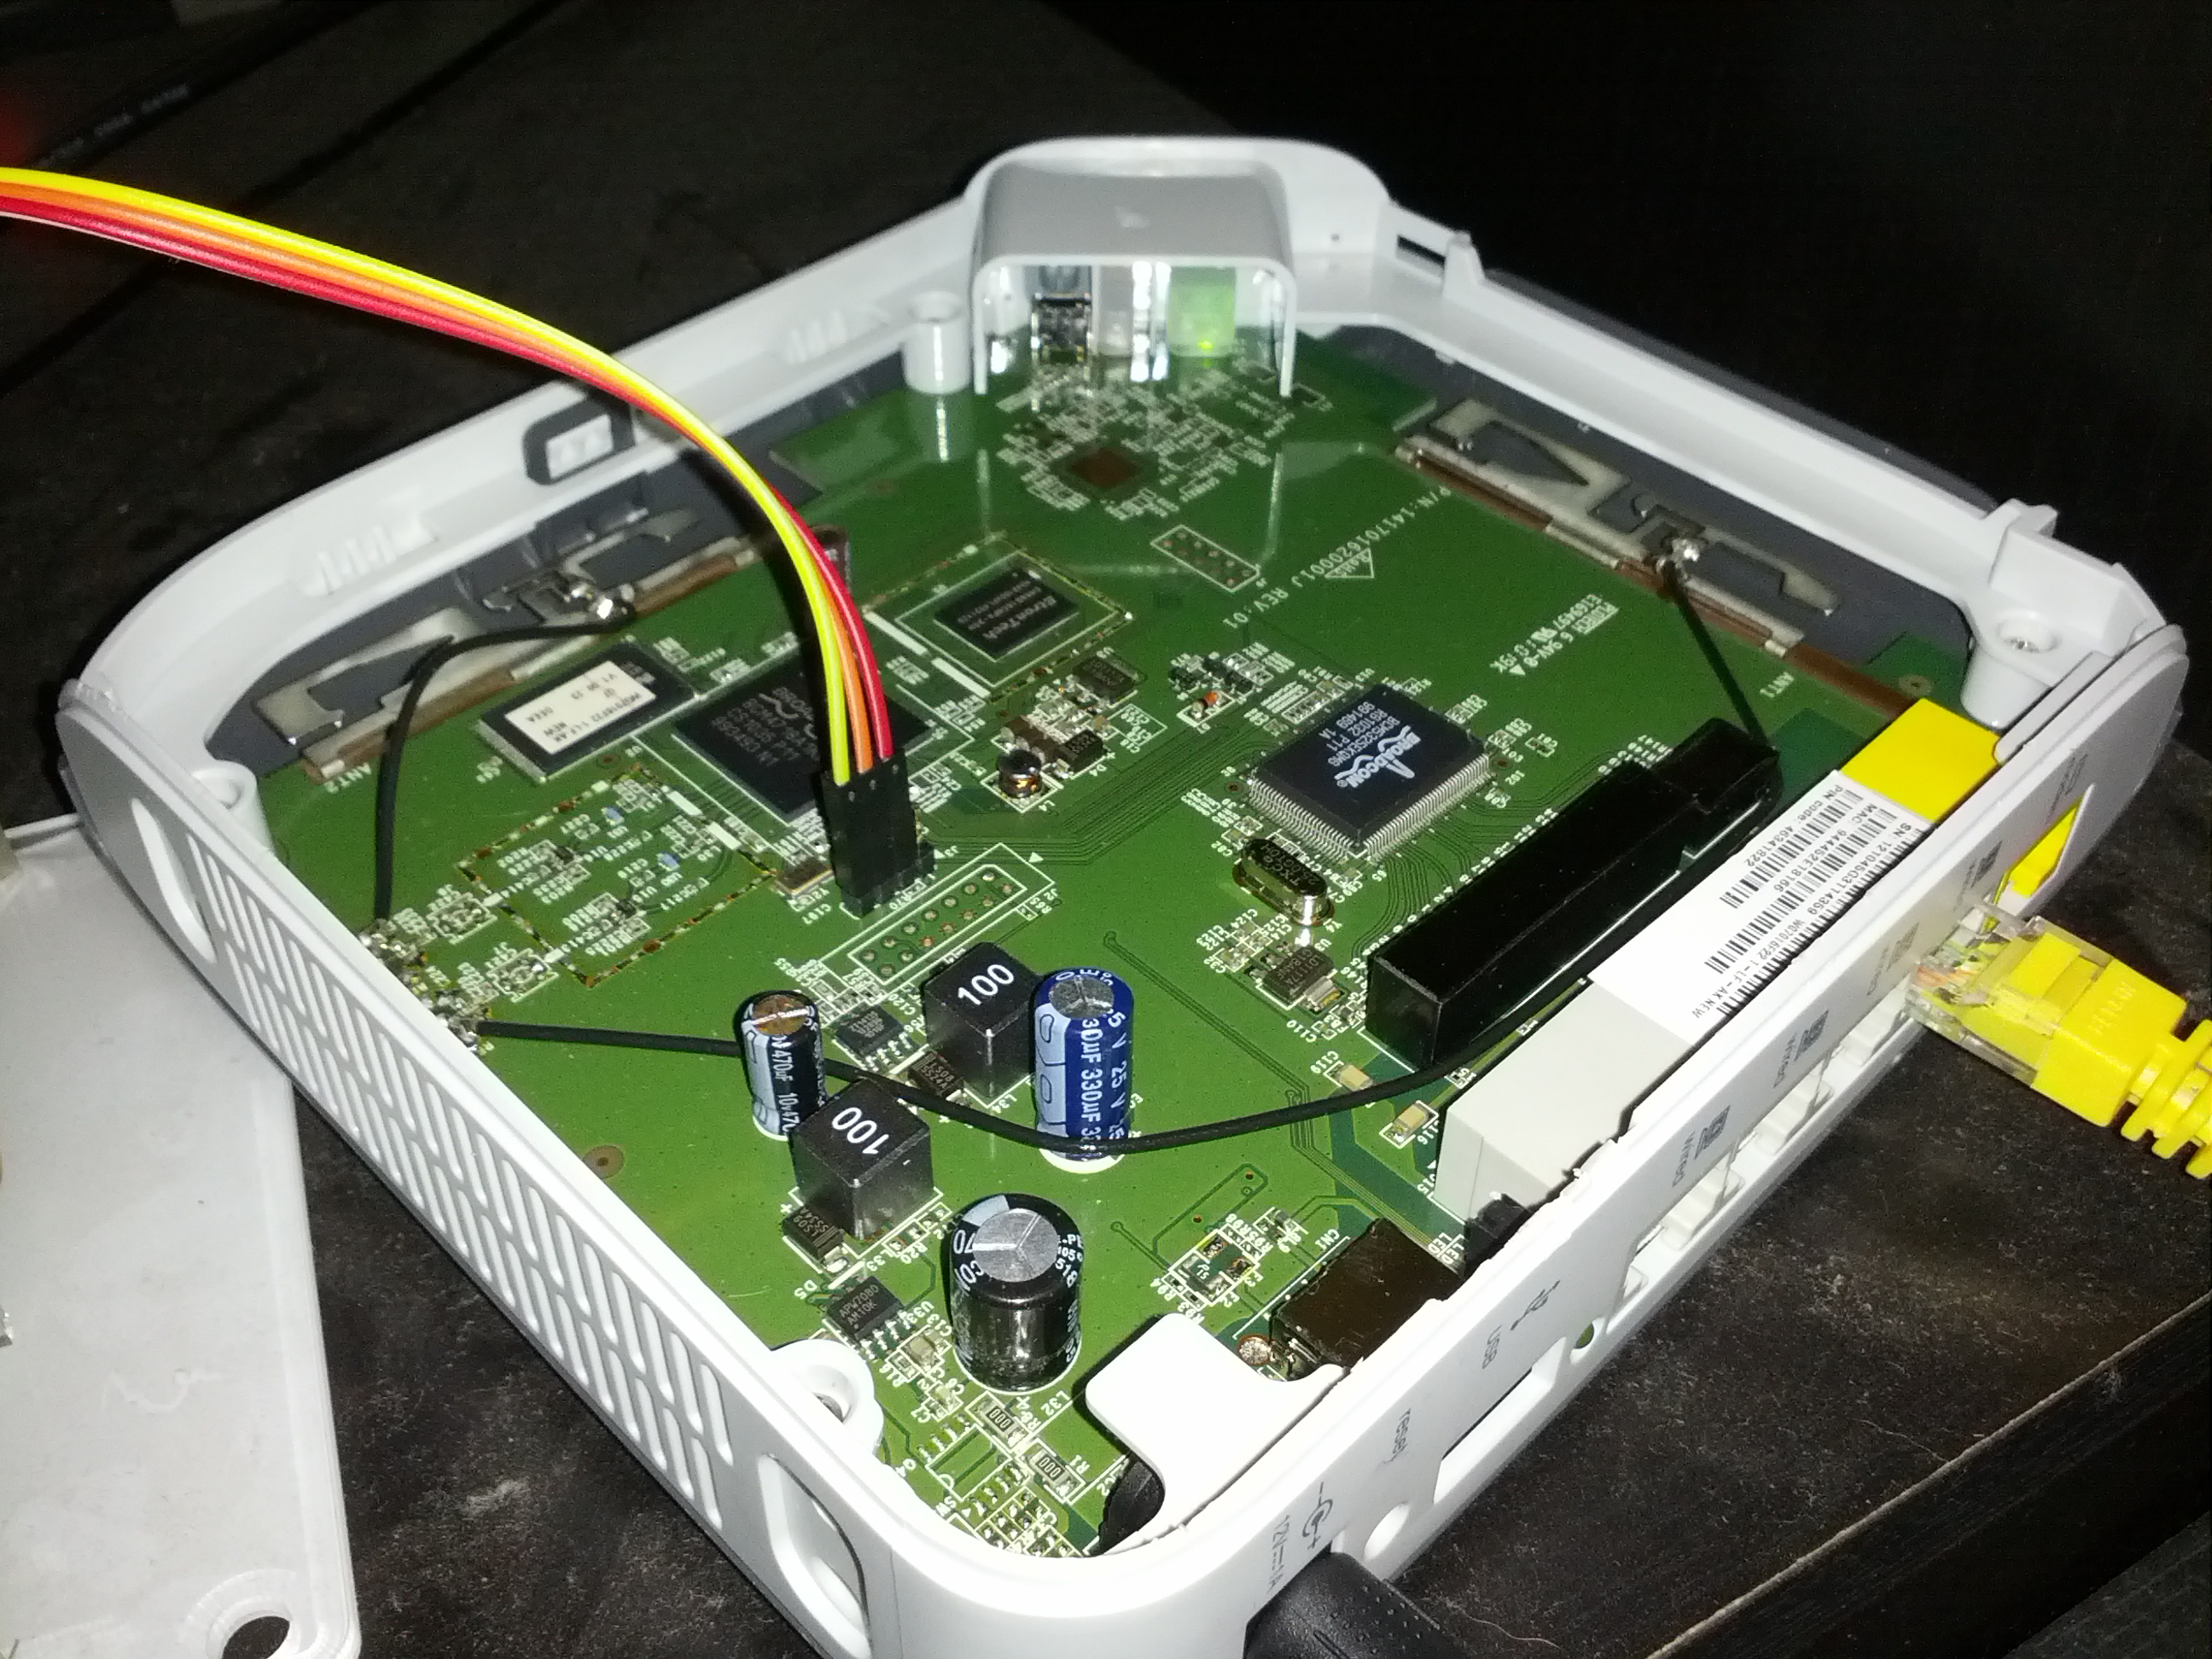
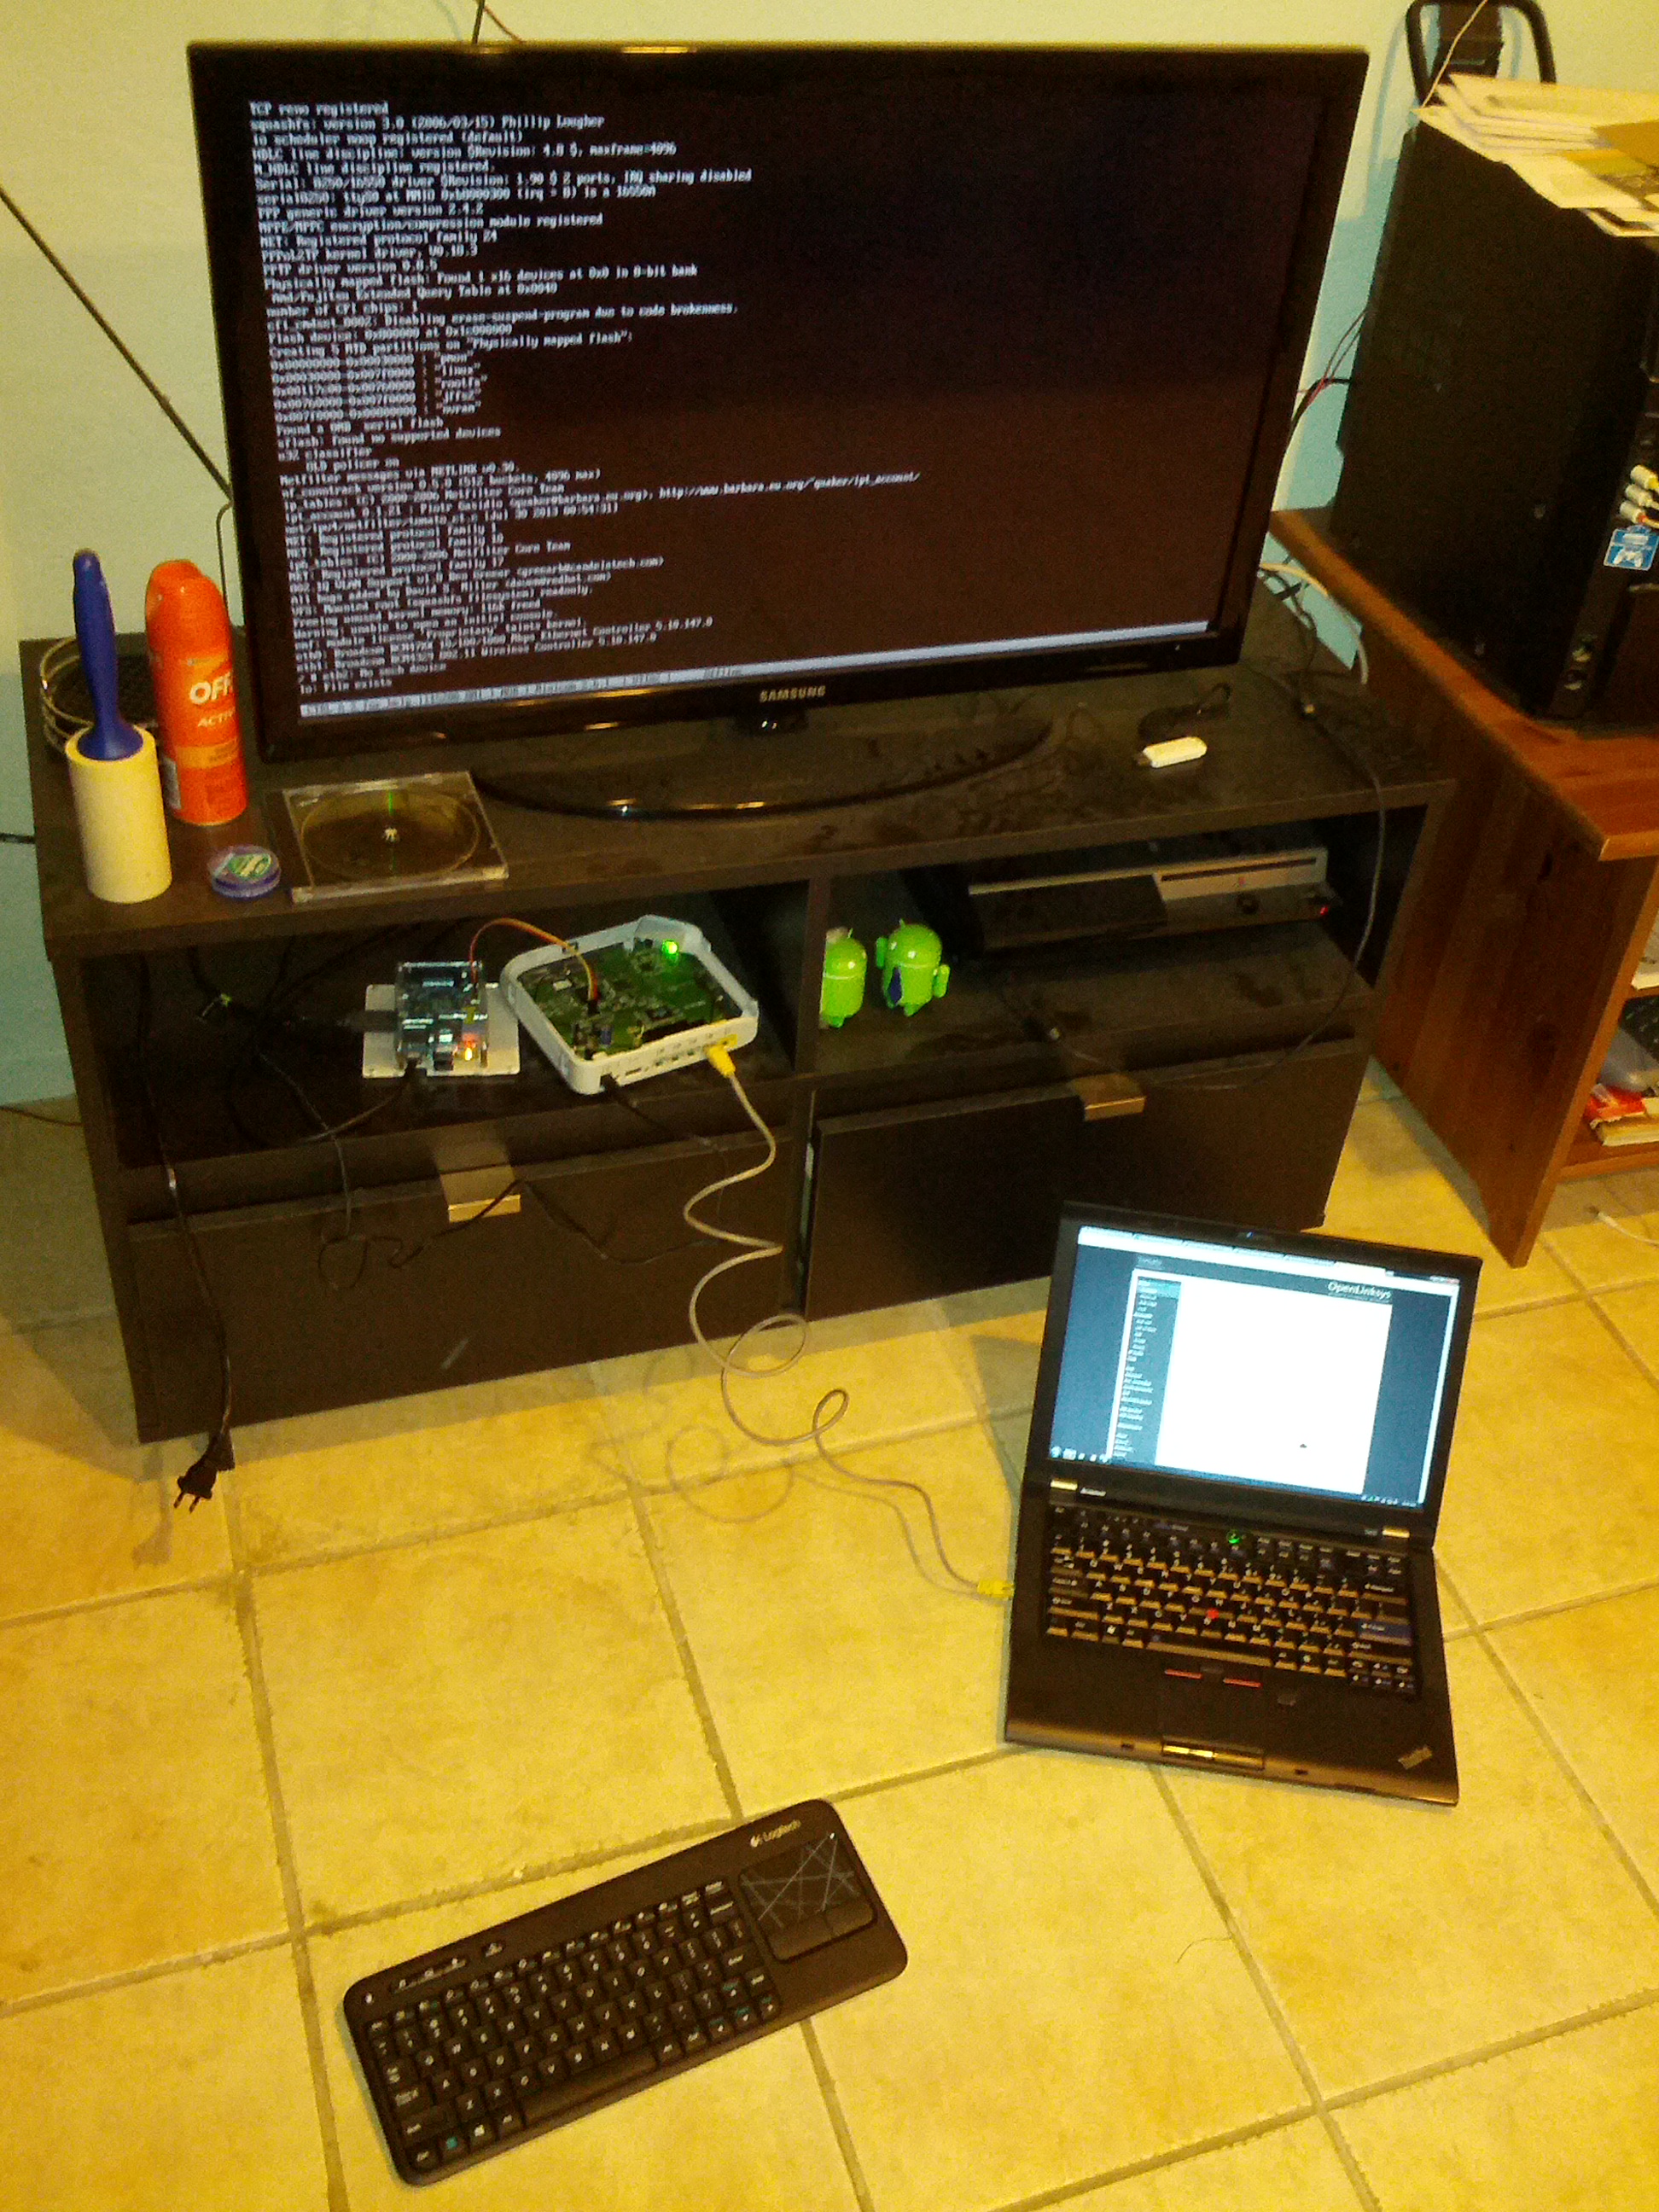
P.S. This is how the mess looked like
If you think I might be able to help you out contact me on Twitter
Sources: